Essential Safe Riding Skills for New Mountain Bikers
We want you to have a long and enjoyable mountain biking career, so we’ve put together this introductory skills guide to help you progress and have fun on the trailsas safely as possible.
It goes without saying that you’ll be wearing a Standards Approved mountain bike helmet, be riding where other people can render assistance if needed, and be on a well-maintained 'trail-worthy' bike. If you need a helmet or it's time to replace an old or damaged one, we have New Zealand's finest selection from POC, SMITH, FOX, Nutcase, and Sweet Protection.
POC Coron Air MIPS Bike Helmet
Sold out$549.99
POC Coron Air Carbon MIPS Bike Helmet
Sold out$814.99
Nutcase Little Nutty Mo' Violets MIPS Helmet
Sold out$134.90
How to Get Your Mountain Biking Basics Right
The foundation of safe riding is a correct body position on your bike. There are three important positions to get right.
Ready Position
The Ready Position is foreasy, non-technical sections of trail.Here’s your Ready Position checklist
Balanced – your pedals should be level with each other and evenly weightedfor a low centre of gravity. Most of your weight should be on your pedals, not your saddle.
Flexible – a relaxed athletic stance with slightly bent knees and elbows to help soak up the bumps
Responsive - fingers caressingon the brake levers so you don’t need to move your hands to apply pressure to the brakes.
Aware - head up and eyes forward. You want to look forward about 5 to 6 metres ahead, and make sure to look at where you want to go, not where you don't. If you’re looking at a hazard like a tree, it will practically guarantee you’ll crash into it.
Smooth – keep all your movements nice and gentle. Jerky steering, pedal, or brake inputs will upset your balance.
Attack Position
When the trail gets more technical – steeper and/or rougher -it’s time to assume the AttackPosition.
Ninja balance – all your weight should be on your pedals not your saddle. Your butt should be off the saddle and your hips moved back along the line of the bike. Your back should be flat and nearly parallel to the ground
Super Flexible – a deep bend in your knees and elbows outlike chicken wingsinline with the handlebars.
Responsive - fingers resting more firmly on the brake levers so they can’t get bumped off.
Aware - head up and eyes forward as above looking for rocks, ruts, and roots.
Smooth – as above
Seat Position
The correct seat height will help you be in the correct body position for climbing and descending. Having a dropper post will change your life and make changing your seat position as easy as pushing a button. If you don’t have a dropper post, you need to do it manually using the cam lever on the seat post collar.
Climbing
High seat position. With your foot at the bottom of the pedal stroke there should be a slight bend in your leg -about 80-90 percent of full leg extension to maximise pedal power and efficiency.
Descending
Low seat position. Your seat should be about 5to 8cm lower than the climbing height to lower your center of gravity for better control. Experiment to see what feels best.
Spotting Your Line
Scan ahead for hazards by looking about 5 or 6 metres down the trail then back toward your front tyre. This constant back and forth scanning action will help you pick a safe line through tricky terrain.
If you’re unfamiliar with a trail take it easy the first couple of times to check out the hazards and find the best line. Some trails will offer a couple of line options – an easy and a hard line. Look for the signs indicating which is which.
Braking
Modulating Your Brake Levers
Braking should be consistent and controlled. Most of your braking power comes from your front brake, but snatching hard on thefronts risks a trip over the handlebars. Instead squeeze the brakes progressively and evenly on both the front and rear to prevent your locking up your wheels up andskidding out of control.
Yourbody position one the bike needs to change too.Moving your hips back, drop your heels down, and keep your knees and elbows bent. This will keep you from getting too far forward on the bike.
When to Brake
Brake before you reach the corner, and then release the pressure and let your momentum carry you through. Never brake in the middle of a corner as you could lock up your front wheel and lose your steering.
Momentum can also be your friend when getting up and over obstacles in the trail. Beginner riders often slow down way too much when approaching obstacles. The right amount of speed can help you bump up and over a lot more safely.
How to Shift Gears Properly
Yes there's a right way and wrong way to shift gears too. Shifting properly saves a massive amount of wear and tear on your bike’s drive train, it also means you have the right amount of power on hand to maintain safe momentum when going uphill. Practice frequent gear shifting so it becomes instinctive.
You must keep pedalling when shifting gears, otherwise you might damage or break the chain or derailleur.
Big tip: Always Shift to a Lower Gear Early
Don't wait to shift until you've already started up an incline. Always shift to the gear you will need before you hit the uphill so can keep up a steady rpm. Spinning up a hill in a lower gear is much easier than lugging in a big high gear. Also shifting under a heavy load in a high gear is hard on your chain ring and cassette, and can make your chain jump off.
Cross-chaining
This was a big issue before most bikes switched to a single chainring. It happens when your chain is stretched diagonally from the small chainring in the front to the small cog in the rear cassette, or the big chainring in the front to the big cog in the rear. It can cause chain skipping and chain lock.
How to Fall Off Your Bike
There are two types of bike riders – those who’ve fallen off, and those who are going to fall off. But there is a right and a wrong way to fall
The right way is to keep your arms in tight to your body and tuck your chin into to your chest. Your instinct may be to reach out with your hands to break your fall, but that’s just a good way to break your wrist or collarbone.
When you hit the ground stay tucked into a ball and just let yourself roll to a stop. That will dissipate the energy of the fall and minimise risk of injury.
Before you get back on,check your bike. The seat or handlebar might betwisted, the derailleur might be out of alignment,andthe chain may have come off.It could be a total yard sale! Check your brakes and gears too. A trailside repair or adjustment may be needed, so it'swise to carry a multi-tool and a small first-aid kit to patch yourself up.
Handling Tricky Trail Conditions
Ruts and Roots
If your wheel gets stick in a deep rut in the trail don’t try to yank it out – you'llprobably crash. It’s better to just follow the rut until it gets shallow enough to steer out of safely.
Tree roots can be treacherously slippery, especially if they’re wet. Cross roots a close to perpendicular as possible to avoid your wheels sliding out from under you.
Gravel and Mud
Keep a light but firm hold on the handlebars, move your weight back on the bike, and try to ‘float’ your front tyre through smoothly. Trying to steer too aggressively will tend to make the front tyre grab the gravel or mud and throw you off.
Unexpected Jumps
Sometimes you might get a bit of air without meaning to. To stay attached to your bike press forward your handlebars and push back hard on your pedals with your toes pointing down.You can do an experiment at home to see how this works.You can pick up a small bowl by pressing your fingers into the opposite walls at the same time. The pressure creates friction which is enough to let you lift up the bowl. It’s exactly the same principle.on your mountain bike.
Trail Etiquette
Always give right-of-way to walkers on dual use trails, cyclists traveling uphill on two-way singletracks, and be extra careful around horses. Don’t do anything that could startle them like ringing your bell. It’s best to see what the horse rider wants you to do.
Now Go Out and Ride!
So that’s a great start to safer mountain biking. Now get out there and practice, practice, practice. And remember to know your limits and ride within them. If you do that you’ll hopefully be able to enjoy a long and fun career as a mountain biker.
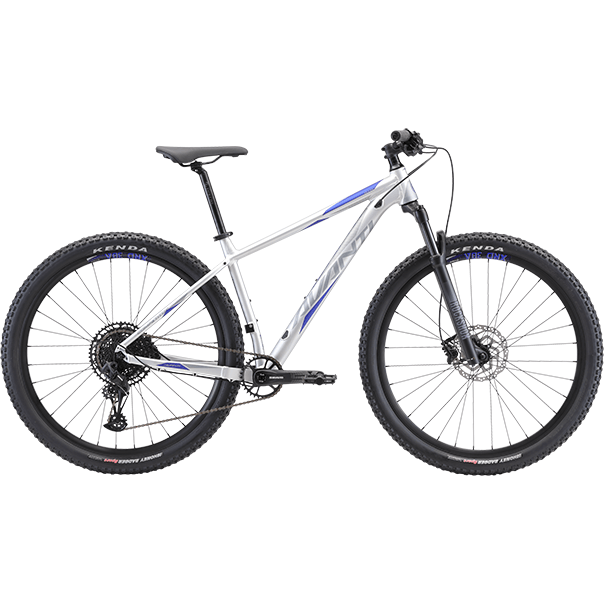
If you have any questions about mountain bikes and riding skills please make sure to get in touch with the bike team here at Outside Sports in Queenstown and Wanaka. We’re here to help you find the right bike and get you set up with all the safety gear you need. And if you’re looking for a new bike here’s a great place to start: